
If there’s anything Hollywood is good at, it’s making motorcycle riding look ridiculously easy. Watch pretty much any action-packed Hollywood movie, and you’ll see an actor jump on a motorcycle and start maneuvering the streets like a pro. Instant mastery of motorcycle riding without much regard for safety does not happen in real life.
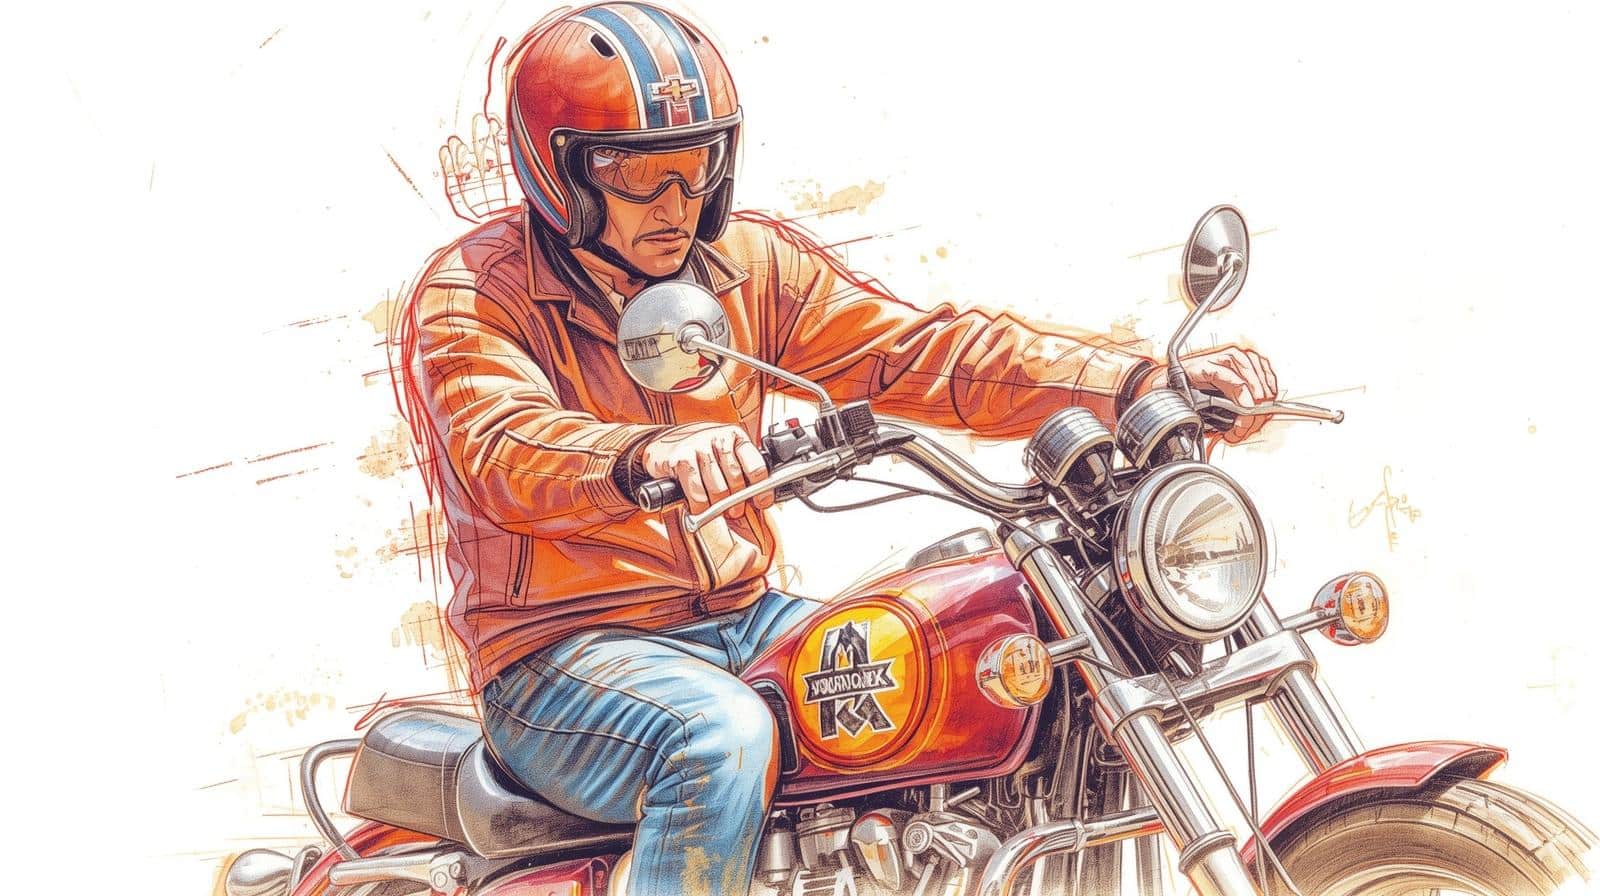
In real life, safety is half the battle when it comes to motorcycle riding. The more safety precautions you take, the better rider you will be. You can’t just ride the streets like a maniac and expect to come back home in one piece. On a motorcycle, even a minor accident can cost you your life.
That’s why every rider needs to take motorcycle safety seriously.
We’re here to clue you in on the basics of motorcycle safety. Here are some tips on keeping yourself safe on the road:
What to wear
- A Snell or DOT-approved helmet: Snell (of the Snell Memorial Foundation) and DOT (Department of Transportation) approved helmets are simply the safest helmets you could wear on the road. You’ll be extra safe if your helmet is both SNELL and DOT approved. Snell has stricter standards, so if your helmet is only Snell-approved, it also means that it’d pass DOT’s standards, too. While shopping for a helmet, check the back for a DOT, Snell, or Snell/DOT sticker.
- A padded jacket and pants made from tough fabrics like leather and mesh are ideal for riding, as they provide skin protection in case of a spill. Wearing reflectors helps, too, as it will increase your visibility on the road.
- Over-the-ankle boots: Your ankles are fragile and could easily break during a crash. Ensure that your shoes are sturdy, comfortable, and over your ankles.
Safety precautions to take before going on a ride
You don’t have a pit crew to prepare your bike before each ride, so you have to take on that responsibility yourself. It’s always smart to go over your bike carefully to ensure that it’s in tip-top shape before every ride. Performing a pre-check takes only five minutes, a small price to pay for the peace of mind that your bike is entirely safe to ride. Here are the steps you’ll need to take during your pre-check:
- Measure the tire pressure: Read your owner’s manual or contact the tire manufacturer for the recommended PSI levels. This is an essential step because tire pressure significantly impacts the motorcycle’s handling.
- Check the tires for dry rot: If your motorcycle has dry rot, the tires will blow out after warming up and contacting the asphalt.
- Ensure that all spokes are tight: You want all spokes tight to prevent unbalanced tires. To perform this check, take a wrench and tap each spoke. If a spoke doesn’t make a ping sound, it’s probably loose. Of course, if you find a loose spoke, just tighten it, and you should be good to go.
- Test the brakes, clutch, and throttle: The brakes should feel firm, and the clutch and throttle should feel smooth. If something feels off, you’d want to have your bike looked at by a mechanic before taking it for a spin.
- Make sure the brake lights, headlight, and turn signals are in working order. This step is crucial because you want to communicate with other motorists on the road to ensure your own safety.
- Check for any loose debris in the chain and the belt: Rocks and other loose debris can easily get stuck in those places, and it can result in a wrecked transmission.
- Check the oil and fuel levels: Ensure your bike isn’t low on oil, as this can lead to engine damage. You also want to prevent your bike from running out of gas on the road. Make sure your fuel petcock is not on reserve.
When it comes to motorcycle riding, you can never be too careful. Follow the above safety tips, and you’ll be safer once you’re ready to roll.

Permit.Bike is singularly devoted to the purpose of providing an easy-to-learn and simple approach to the act of riding.